How to add and activate End-Devices in the built-in Chripstack for local testing
📖 Overview
This guide provides a step-by-step process for adding and activating LoRaWAN End-Devices using the built-in ChirpStack Network Server on Robustel Edge Gateway (EG Series) running RobustOS Pro.
Using the embedded ChirpStack allows for local LoRaWAN network management directly on the edge gateway, which is ideal for low-latency edge computing and offline testing.
📝 Note: Before you begin, please ensure your LoRa node (End-Device) is already configured. This typically includes Identity & Security, RF & Region, and LoRaWAN Protocol parameters. You must know the following minimum parameters: DevEUI, AppKey (JoinKey), Region, Device Class (A, B, or C), and Activation Mode (OTAA/ABP).
🛠 What You'll Need
- Hardware:
- Robustel LoRaWAN Gateway (e.g., R1520LG)
- Software/Firmware:
- RobustOS Pro V2.0.0 or higher.
- Other:
- Log in to the Gateway's web interface. The default IP address is typically
http://192.168.0.1. - The LoRa antenna is physically attached
🚀 Step-by-Step Configuration Guide
1️⃣ Step 1: Enable Embedded ChirpStack
- Navigate to LoRaWAN > LoRa Settings.
- In the General Settings tab, set LoRaWAN Network Server to
Embedded NS. - Click submit button,
- Then click Save & Apply icon.
2️⃣Step 2: Verify LoRa Frequency Band Consistency
📝 Note: Before accessing ChirpStack, ensure that the LoRa node device and the LoRa gateway are operating on the same frequency band.
- Navigate to LoRaWAN > LoRa Settings.
- Click the RF Settings tab.
- In the SX1302 Board Settings section, locate the Region field and confirm that the selected frequency band matches the LoRa node device’s configured region.
📝 Note: For LoRa node devices using US915 or AU915, select the sub-band according to the node’s supported channels in the Region Configuration dropdown.
3️⃣ Step 3: Access the ChirpStack Interface
- Navigate to LoRaWAN > Embedded NS.
- In the General tab, look for the text "click here" to jump to the ChirpStack login page.
- Log in with the default credentials:
- Username:
admin - Password:
admin
4️⃣ Step 4: Create a Device Profile
- In ChirpStack, navigate to Tenant -> Device profiles.
- Click Add device profile.
- In the Name box, enter a descriptive name.
- Region: Select the frequency band used by your device.
- MAC version and Regional parameters: Keep as default (adjust only if the device fails to join based on manufacturer specs).
- Go to the Join (OTAA / ABP) page and ensure the Device supports OTAA switch is ON.
- Optional: If you need Class C support, go to the Class-C page and enable it (this guide assumes Class A).
- Click Submit.
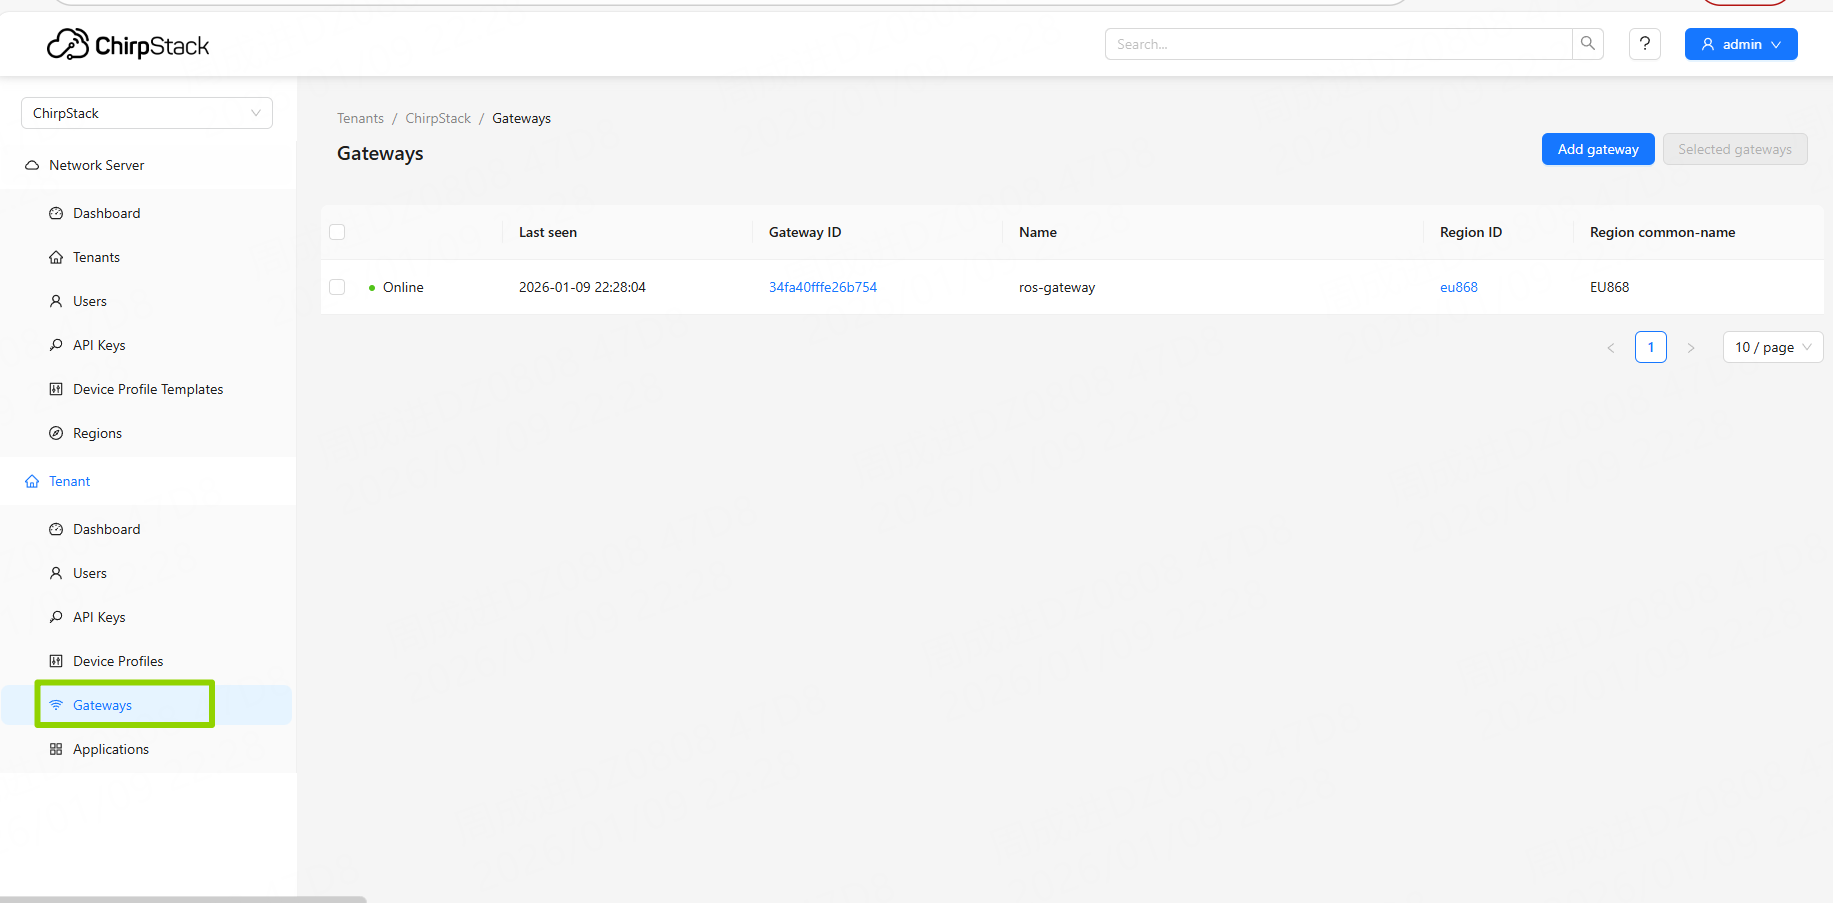
5️⃣ Step 5: Verify LoRa Gateway Configuration(Optional)
- Navigate to Tenant -> Gateways.
- The gateway is usually added automatically. If it has been deleted, click Add gateway.
- To find the Gateway ID (EUI64), go back to the Gateway WebUI (
192.168.0.1) under LoRaWAN -> LoRa Settings. The ID is located in the Default Gateway ID field of the General Settings section.
6️⃣ Step 6: Add the Device to an Application
- In ChirpStack, navigate to Tenant -> Applications.
- A default application named
ros-appshould exist. Click the name ros-app.(If deleted, click Add Application).
- Click Add device on the next page.
- Name: Enter a name for your node.
- Device EUI (EUI64): Enter the device's DevEUI.
- Device profile: Select the profile created in Step 3.
- Click Submit.
- Note: You will then be prompted to enter the Application Key (AppKey) provided by your device manufacturer.
- Click Submit again.
✅ Verification & Testing
1. Activation Check
- Navigate to Tenant -> Applications.
- In the Devices page, click on the DevEUI of the device you just added.
- Click the LoRaWAN frames tab.
- Trigger your LoRa node to send a Join request.
- Expected Result: You should see a
JoinRequestmessage followed immediately by aJoinAcceptmessage.
✅ Success: The appearance of JoinAccept indicates the node has successfully joined the network.
2. Data Transmission Check
- Send a message from your node (e.g., "hello world").
- In the LoRaWAN frames page, an
UnconfirmedDataUpmessage will appear. - Click the message to expand details. Look for the
frm_payloadfield on the right.
✅ Success: In this example, the sent data is ASCII encoded. The decoded result in the payload will be "hello world".
❓ Troubleshooting / FAQ
- Q: I see JoinRequest but no JoinAccept.
- A: This is most commonly caused by an incorrect AppKey or JoinEUI. Re-verify the keys in the device's OTAA Keys tab.
Q: No frames are appearing in the log.
A: Navigate to LoRaWAN > LoRa Settings and click the RF Settings page. Ensure the gateway configuration there matches your LoRa node's settings (Frequency, Spreading Factor, etc.). Also, verify that the LoRa antenna is securely attached.
📝 Note:Most nodes can connect under the default RF settings unless the LoRa node has special configurations.
📜 Revision History
Version | Date | Author | Notes |
v1.0 | 2026-01-09 | Jens Zhou | Initial configuration guide for RobustOS Pro. |
Related Articles
How to Install and Activate RCMS via SMS on Robustel Gateways
Overview At present, there are many devices in customers' production environments which use legacy platforms such as RobustLink 2.0 or RobustVPN 1.0. Before December 2019, Robustel devices were not shipped with the Robustel Cloud Manager Service ...Can I add devices to RCMS in bulk?
A: Devices can be added in RCMS individually or in batches. To add devices in batches click the arrow button next to the ADD button in Add/Remove devices to show the Batch Import option. From there you can download a .xlsx template that can be ...How to install the MQTT broker service on EG series devices?
Overview This article provides a step-by-step guide for installing and configuring the Mosquitto MQTT broker on a Robustel EG series gateway (e.g., EG5120, EG5200) running RobustOS Pro. This setup is ideal for scenarios where you need a reliable, ...How to add a secondary IP(Multiple IP) address to the LAN interface?
Overview This guide explains how to add a secondary IP address to a LAN interface on a Robustel router running RobustOS. This configuration is primarily used to enable communication with terminal devices on a different IP subnet without altering the ...Can I activate the RCMS App via SMS?
A: Yes, for devices already in the field it is possible to install and activate the RCMS App remotely using SMS